


Getting Started with Mosaic Art: The Best Way to Create a Mosaic for Your Home
Mosaic art is a beautiful and creative way to add a personal touch to your home decor. Whether you're looking to create a unique backsplash for your kitchen or a beautiful mosaic piece to hang on your wall, mosaic art is a fun and rewarding project for anyone to take on. If you're new to mosaic art, here are some tips on the best way to create a mosaic for your home.
Choose Your Design and Materials:
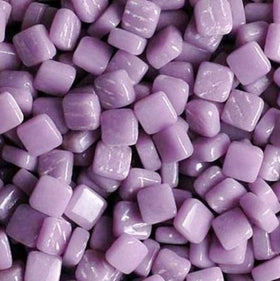
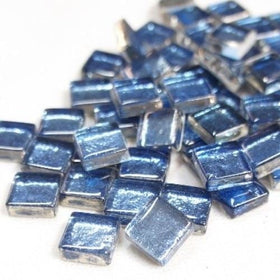
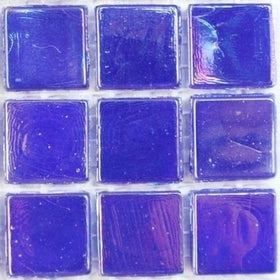
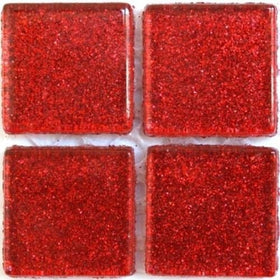
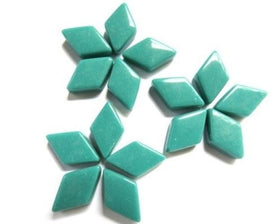
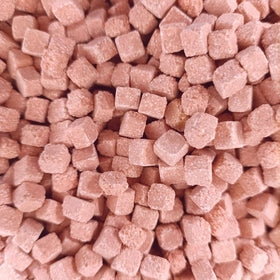
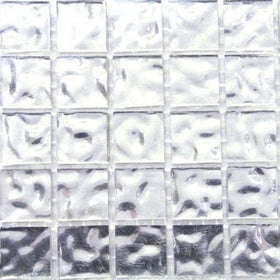
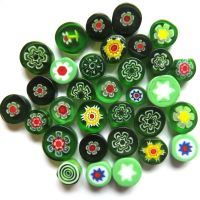
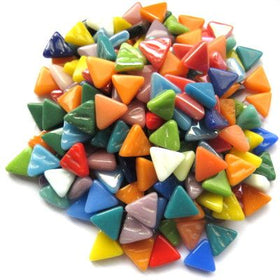
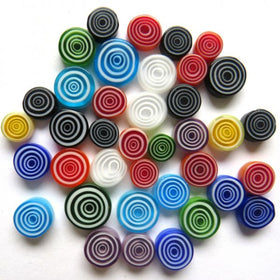
When choosing your design, consider your personal style and the overall aesthetic of the room where your mosaic will be displayed. Think about the colors, shapes, and patterns that will complement the space. You can find design inspiration online, in books or magazines, or by visiting galleries or museums. As for materials, the possibilities are endless. Ceramic or glass tiles are popular choices. Choose materials that will work well together and add texture and depth to your mosaic.
Prepare Your Surface:
Before you begin your mosaic, you'll need to make sure your surface is clean and ready to receive your tiles. If you're working on a wall or floor, you may need to clean it with a degreaser or sand it down to create a rough surface that will help the tiles adhere. For smaller surfaces like picture frames or one of our bases, you may need to sand, seal or paint the surface before you start. Make sure your surface is completely dry before you begin laying your tiles.
Plan Your Layout:
Planning your layout is an important step that will help you avoid mistakes and ensure your mosaic turns out just the way you want it. Take the time to sketch out your design on paper, using coloured pencils or markers to help you visualise how it will look. Consider the size and shape of your tiles, and make adjustments to your design as needed. You can also create a template with cardboard or paper to help guide you as you lay your tiles.
Lay Your Tiles:
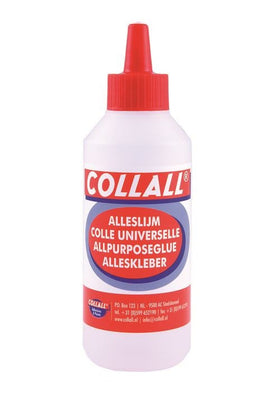
When laying your tiles, start in the centre of your design and work your way outward. Apply a small amount of tile adhesive to the back of each tile and press it firmly onto the surface. If you need to cut any tiles to fit, use tile nippers to shape them as desired. Take your time and work carefully to ensure your tiles are level and aligned.
Grout Your Mosaic:
Grouting is the process of filling in the spaces between your tiles to create a smooth, even surface. Mix your grout according to the package instructions and apply it to your mosaic using a rubber float. Be sure to work the grout into the spaces between your tiles, taking care not to leave any gaps. Use a damp sponge to wipe away any excess grout, and allow it to dry for several hours. Once the grout is dry, use a clean, dry cloth to wipe away any remaining haze.
Seal Your Mosaic:
Sealing your mosaic is an important step that will help protect it from moisture, dirt, and other elements that can damage it over time. Choose a sealant that is specifically designed for mosaics, and follow the package instructions for best results. Apply the sealant using a brush or spray bottle, being careful not to leave any bubbles or streaks. Allow the sealant to dry completely before displaying your mosaic.
Creating a mosaic for your home is a fun and rewarding project that can add a personal touch to your decor. By carefully selecting your design and materials, preparing your surface, planning your layout, laying your tiles, grouting your mosaic, and sealing it, you can create a unique and beautiful piece of art that will be a conversation starter in your home. At Hobby Island, we have everything you need to get started with mosaic art, from tiles and tools to sealants and adhesives. So why not give it a try and create your own stunning mosaic?